Apple HomePod mini HomeKit Setup: Tips for a Smooth Configuration
Getting your Apple HomePod mini integrated with Apple HomeKit should be a straightforward process, but many users encounter hiccups during the initial pairing or when adding accessories. This guide covers practical, step-by-step troubleshooting and optimization tips to ensure your HomePod mini becomes the reliable hub your smart home deserves.
What Do You Need Before Starting the HomePod mini HomeKit Setup?
Before you unbox your HomePod mini, ensure your environment meets Apple’s baseline requirements. You’ll need an iPhone or iPad running at least iOS 15.1 or iPadOS 15.1—older versions lack the full HomePod mini support. Your Apple ID must be signed into iCloud with two-factor authentication enabled. The Home app on your iOS device should be updated to the latest version available in the App Store.
Your home network needs a reliable 2.4GHz or 5GHz Wi-Fi connection. The HomePod mini supports 802.11n on the 2.4GHz band and 802.11ac on 5GHz. For best results, ensure your router’s firmware is up-to-date. If you’re already experiencing Thread network problems, verify that your router supports IPv6—Thread relies on it for proper mesh communication. Place the HomePod mini within 30 feet of your router during setup to avoid dropouts.
How Do You Add the HomePod mini to the Home App?
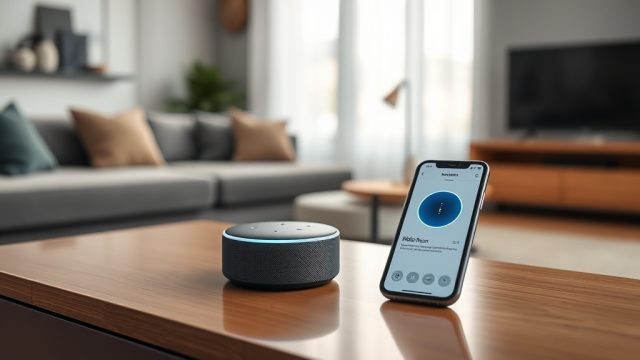
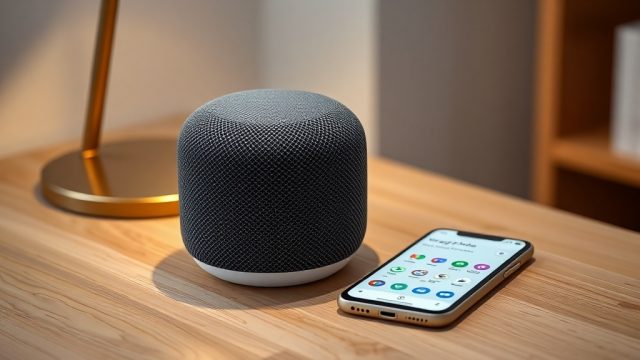
Plug in your HomePod mini and wait for the white spinning light to appear. On your iPhone, unlock it and hold it near the HomePod mini—a setup card should appear automatically. If not, open the Home app, tap the plus icon, and select “Add Accessory.” Follow the on-screen prompts to scan the setup code located on the bottom of the HomePod mini or on the packaging.
During this process, you’ll be asked to assign the HomePod mini to a room (e.g., Living Room, Kitchen). Choosing a specific room is vital for Siri commands like “Turn off the lights in the kitchen” to work correctly. After a few minutes, the HomePod mini will appear as a Hub in the Home app’s settings. If the setup freezes, restart your iPhone and the HomePod mini by unplugging it for 10 seconds. Also, check that Bluetooth is enabled on your iPhone—it’s used for initial pairing.
Why Is Your HomePod mini Not Showing as a Hub?
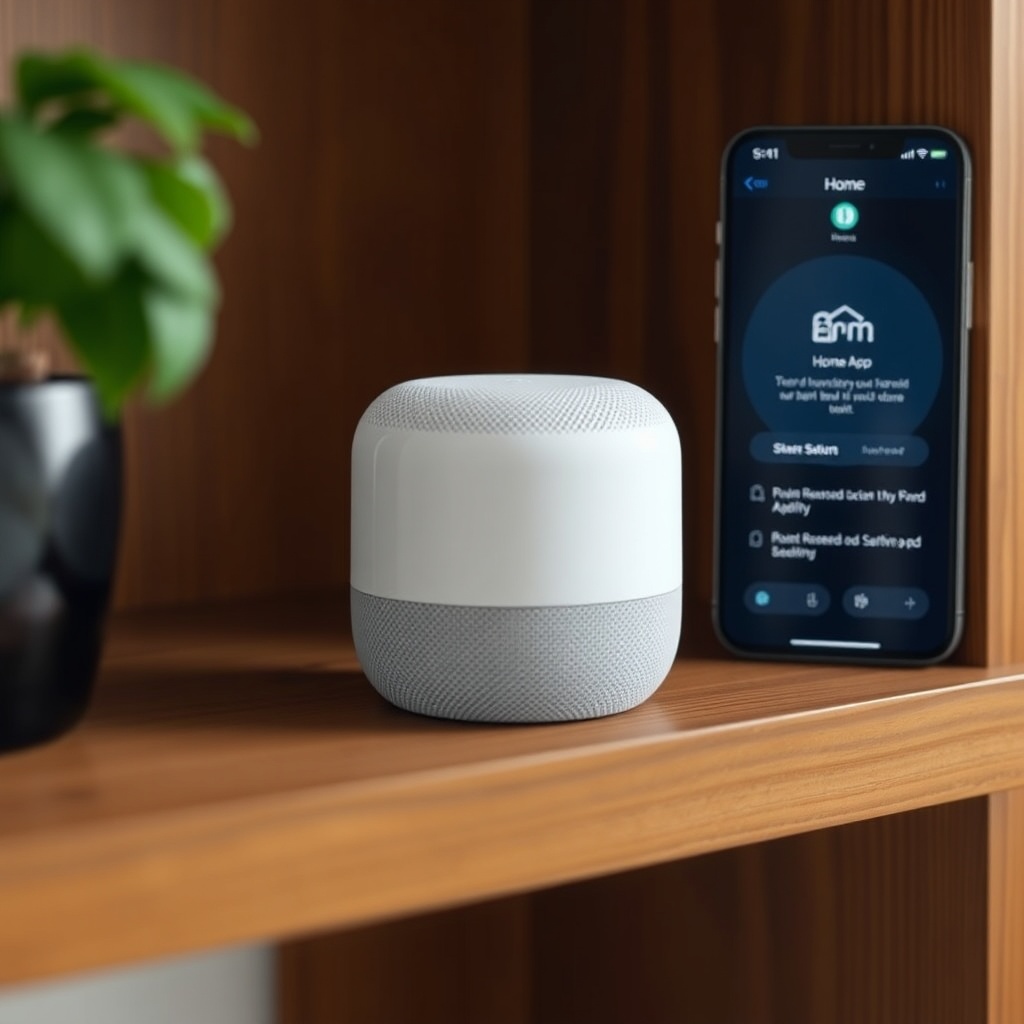
After setup, your HomePod mini should automatically become a Home Hub, enabling remote access and automations. If it’s not listed as a Hub under Home Settings > Home Hubs & Bridges, several factors could be at play. First, ensure your iPhone and HomePod mini are on the same iCloud account. Go to Settings > [Your Name] > iCloud on both devices and verify the same Apple ID is active.
Network conflicts are a common culprit. If your router uses a firewall or content filter, temporarily disable it. The HomePod mini needs access to Apple’s servers on ports 443 and 5223. Also, check that “Accessories” are enabled under iCloud settings on your iPhone. If you’re still stuck, sign out of iCloud on your iPhone, restart both devices, and sign back in. This refreshes the authentication tokens. For persistent issues, consider resetting the HomePod mini by pressing and holding the top until the spinning light turns red, then say “Reset HomePod.”
| Issue | Severity |
|---|---|
| HomePod mini not showing as hub after setup | Needs attention soon |
| Slow response from HomeKit accessories | Usually not urgent |
| HomePod mini not connecting to Wi-Fi | Needs attention soon |
| Intercom not working across devices | Usually not urgent |
| Thread device pairing fails | Needs attention soon |
| Siri not controlling HomeKit lights | Needs attention soon |
How Can You Optimize HomeKit Automations with the HomePod mini?
Once the HomePod mini is acting as a hub, you can set up automations that trigger without your phone. Open the Home app, tap Automations, then create a new one. For example, “When the first person arrives home, turn on the hallway light” or “At sunset, dim the living room lights to 50%.” The HomePod mini’s Thread radio is particularly useful for battery-powered sensors (like door/window sensors) because Thread uses low energy and creates a self-healing mesh.
To leverage Thread, ensure your smart home devices support it natively. Popular options include Eve Energy, Nanoleaf Essentials bulbs, and some Aqara sensors. If you’re mixing Thread and Bluetooth devices, the HomePod mini handles both, but Thread devices will respond faster. For complex routines, consider using the “Convert to Shortcut” option in the automation editor—this allows advanced logic like time delays or conditional triggers. However, avoid overloading a single automation with more than 30 actions, as this can cause instability.
What Should You Do If HomeKit Accessories Stop Responding?
It’s not uncommon for a HomeKit accessory to show “No Response” in the Home app. First, check that the accessory is powered on and within range of the HomePod mini. For Bluetooth accessories, keep the distance under 30 feet with minimal walls. For Wi-Fi accessories, verify they’re on the same 2.4GHz band as the HomePod mini—many budget routers separate 2.4GHz and 5GHz into different networks, and a mismatch causes disconnects.
Rebooting the HomePod mini itself often resolves temporary hub glitches. Unplug it for 30 seconds, then plug it back in. Wait for the white light to stabilize. If a specific accessory still shows “No Response,” remove it from the Home app (tap the accessory, scroll to the bottom, and select “Remove Accessory”), then re-add it. Also, check for firmware updates for the accessory—many manufacturers release updates via their own apps first. If you’re encountering Siri not responding issues specifically, that’s a separate signal problem covered in our dedicated guide.
How Do You Manage Multiple HomePod minis in One Home?
Using two or more HomePod minis can improve voice pickup coverage and enable stereo pairing. To create a stereo pair, ensure both units are updated to the same software version, placed in the same room in the Home app, and within 10 feet of each other. In the Home app, press and hold one HomePod mini, scroll to Settings, and choose “Create Stereo Pair.” The pair will function as a single audio output, but both still serve as Home Hubs—one acts as the active hub, the other as a standby.
For multi-room audio, you can group HomePod minis or other AirPlay 2 speakers via Control Center on your iPhone. In the Home app, you can create zones (e.g., “Upstairs”) to control multiple rooms at once. However, note that only one HomePod mini can be the primary hub at a time. If you see frequent hub switching, check network stability—each time the hub changes, accessories may briefly show “No Response.” For stability, assign fixed IP addresses to your HomePod minis in your router’s DHCP settings.
What Owners Say
Many users on forums note that the HomePod mini’s hub function is generally reliable, but initial pairing can be finicky. One owner commented, “It took three tries to get my first HomePod mini to show as a hub. Unplugging the router fixed it.” Another user observed, “Thread devices like my Eve Door & Window sensor respond instantly now, but my old Bluetooth lock still takes a few seconds.” A third owner mentioned, “I had to rename my 5GHz network to avoid confusion—once both bands had separate SSIDs, everything worked smoothly.”
Frequently Asked Questions
Does the HomePod mini require a HomeKit bridge for non-HomeKit devices?
Yes, devices that don’t natively support HomeKit (like some third-party light bulbs or sensors) need a bridge device such as a Philips Hue Bridge or an IKEA Dirigera hub. The HomePod mini itself cannot directly control Zigbee or Z-Wave devices.
Can I use the HomePod mini as a HomeKit hub without a Wi-Fi network?
No, the HomePod mini requires an active Wi-Fi connection to function as a Home Hub. It communicates with your iPhone and accessories over your local network, and it needs internet access for remote control and Siri requests.
Will the HomePod mini interfere with my existing Thread network?
No, the HomePod mini acts as a Thread Border Router, which actually extends and strengthens your Thread mesh. It can even help Thread devices from other brands communicate better. However, if you have a large Thread network, ensure your router handles IPv6 correctly, as Thread relies on it.
How do I reset the HomePod mini for a fresh HomeKit setup?
Unplug the HomePod mini, wait 10 seconds, then plug it back in. Press and hold the top of the HomePod mini (where the white light is) until the light turns red. Keep holding until you hear three beeps. The device will reset to factory defaults, and you can set it up again from the Home app.
Why can’t I see my HomePod mini in the Home app on my wife’s iPhone?
Both users need to be part of the same Apple Home with “Allow Access” set accordingly. In the Home app, tap the house icon, then “Home Settings,” then “Invite People.” Send an invitation to your wife’s Apple ID. She must accept it and ensure iCloud Keychain is enabled on her device.
Does the HomePod mini support Matter devices as a hub?
Yes, starting with HomePod mini software version 16.2 and later, it acts as a Matter controller. You can pair Matter-enabled devices like smart plugs or sensors directly to the Home app without needing a separate hub, provided the device supports Matter.
Your Next Steps for a Stable HomeKit Setup
Check your network first—rename separate bands, update firmware, and ensure IPv6 is enabled. After the HomePod mini is added, assign it a room, set up automations, and test Thread if you have compatible devices. If issues persist, the guides on Intercom not working or our sound quality deep dive can help with specific problems. With a little patience, the HomePod mini will become the most reliable hub in your smart home.