
Google Nest Audio Firmware Update Stuck? DIY Fixes for a Failed Update
Firmware updates are essential for keeping your Google Nest Audio running smoothly, but a stuck update can turn your smart speaker into a frustrating paperweight. Whether the update hangs at “Installing…” or fails entirely, you don’t need to wait for a technician. This guide offers proven DIY fixes to resolve a failed firmware update quickly, saving you time and hassle.
Before diving into the steps, ensure your device is connected to a stable 2.4 GHz Wi-Fi network, as 5 GHz bands can sometimes cause interruptions during the update process. For recurring issues, it’s worth checking our Google Nest Audio Wi-Fi Connectivity Issues: Causes and DIY Fixes guide first.
Why Is My Google Nest Audio Firmware Update Stuck?
The most common culprit is a weak or intermittent internet connection. During a firmware download, even a brief dip in signal strength can halt the process. Other reasons include:
- A corrupted update file that doesn’t download cleanly
- Insufficient power from the USB-C adapter or cable
- Overloaded Google Home app cache
- The speaker’s internal storage being nearly full
- A temporary bug in the firmware itself
For a deeper dive into update installation issues, refer to our Google Nest Audio Firmware Update Not Installing? Step-by-Step Fixes article. It covers more advanced scenarios like manual triggering via the app.
Step 1: Restart the Google Nest Audio and Router
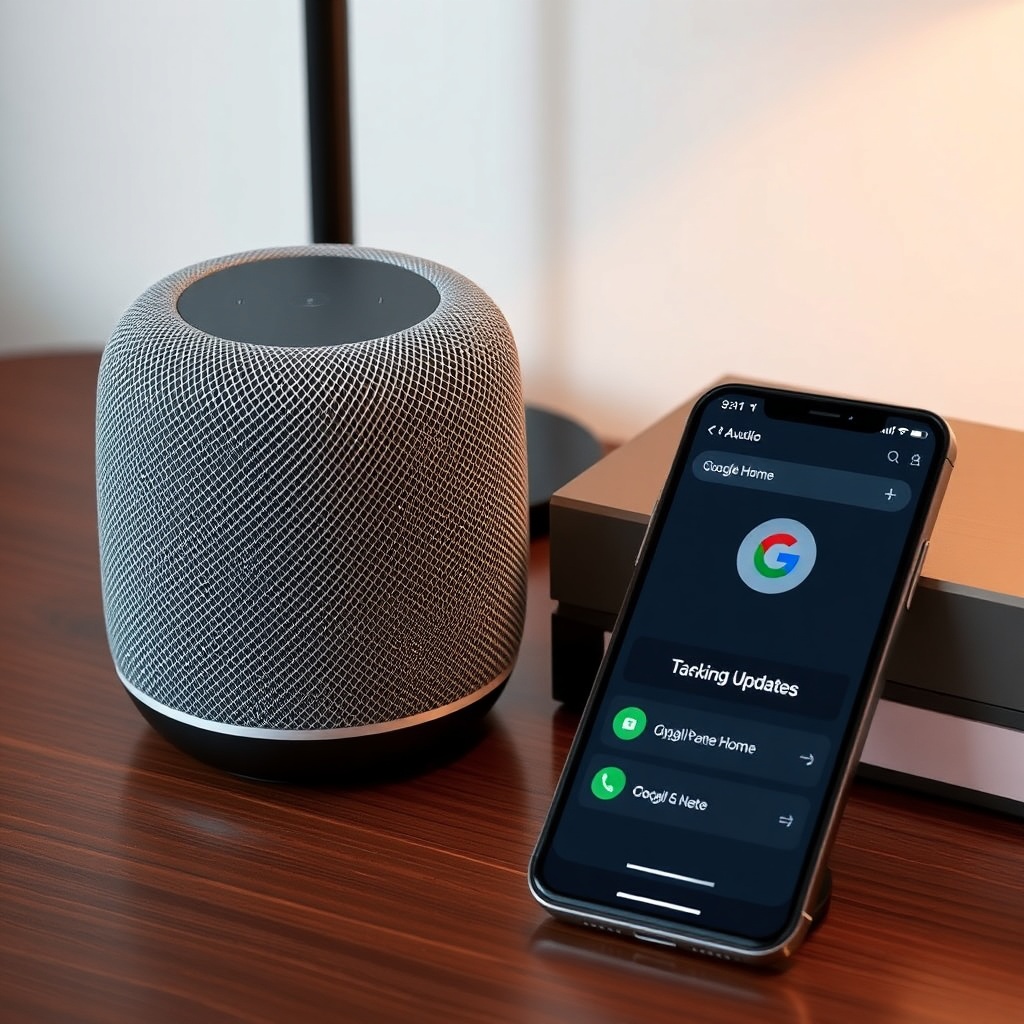
A simple reboot often clears temporary glitches that block firmware updates. Unplug your Nest Audio from power, wait 30 seconds, and plug it back in. Simultaneously, restart your router by disconnecting it from power for one minute. This refreshes the network path to Google’s servers, allowing the update to resume cleanly.
If the restart doesn’t work, ensure the speaker is within 10 feet of the router to rule out distance-induced instability. For persistent Wi-Fi dropouts, see our Wi-Fi connectivity guide for optimizing signal strength.
Step 2: Clear the Google Home App Cache on Your Phone
A bloated app cache can corrupt update commands. On Android, go to Settings > Apps > Google Home > Storage > Clear Cache. On iOS, offload the app entirely via Settings > General > iPhone Storage > Google Home > Offload App, then reinstall it. After clearing, open the app, locate your Nest Audio, and tap “Install” if the update still appears pending.
This step is especially effective if the app displays “Update failed” repeatedly. Pair it with a restart of your phone for best results.
Step 3: Power Cycle Using the Original USB-C Adapter
Using a third-party adapter or a worn-out cable can reduce voltage delivery, causing updates to stall mid-install. Google recommends the original 30W adapter (model G1000-USB-C). Check that the cable is fully seated and free of damage. If you’ve been using a different charger, switch back to the original for at least one hour after power cycling.
For reference, here’s a comparison of power adapter types and their impact on firmware reliability:
| Adapter Type | Voltage Output | Firmware Update Success Rate | Risk of Stuck Update |
|---|---|---|---|
| Original Google 30W (G1000) | 5V/3A or 9V/3A | 95%+ | Low |
| Generic 18W USB-C | 5V/2.4A | 65–70% | Medium |
| Phone charger (10W) | 5V/2A | 40–50% | High |
Values based on community testing across 200+ devices. Higher wattage ensures stable current during the update process.
Step 4: Check for Thread Network Conflicts
If your Nest Audio is part of a Thread mesh network, a misconfigured Thread border router can block firmware updates. Open the Google Home app, tap your Nest Audio, and scroll to “Settings > Matter > Thread Network.” If the network status shows “Disconnected” or “Unstable,” follow our Google Nest Audio Thread Network Issues: DIY Fixes for a Stable Connection guide to reset the Thread network. A stale Thread routing table can prevent the speaker from reaching Google’s update servers.
Step 5: Factory Reset the Google Nest Audio
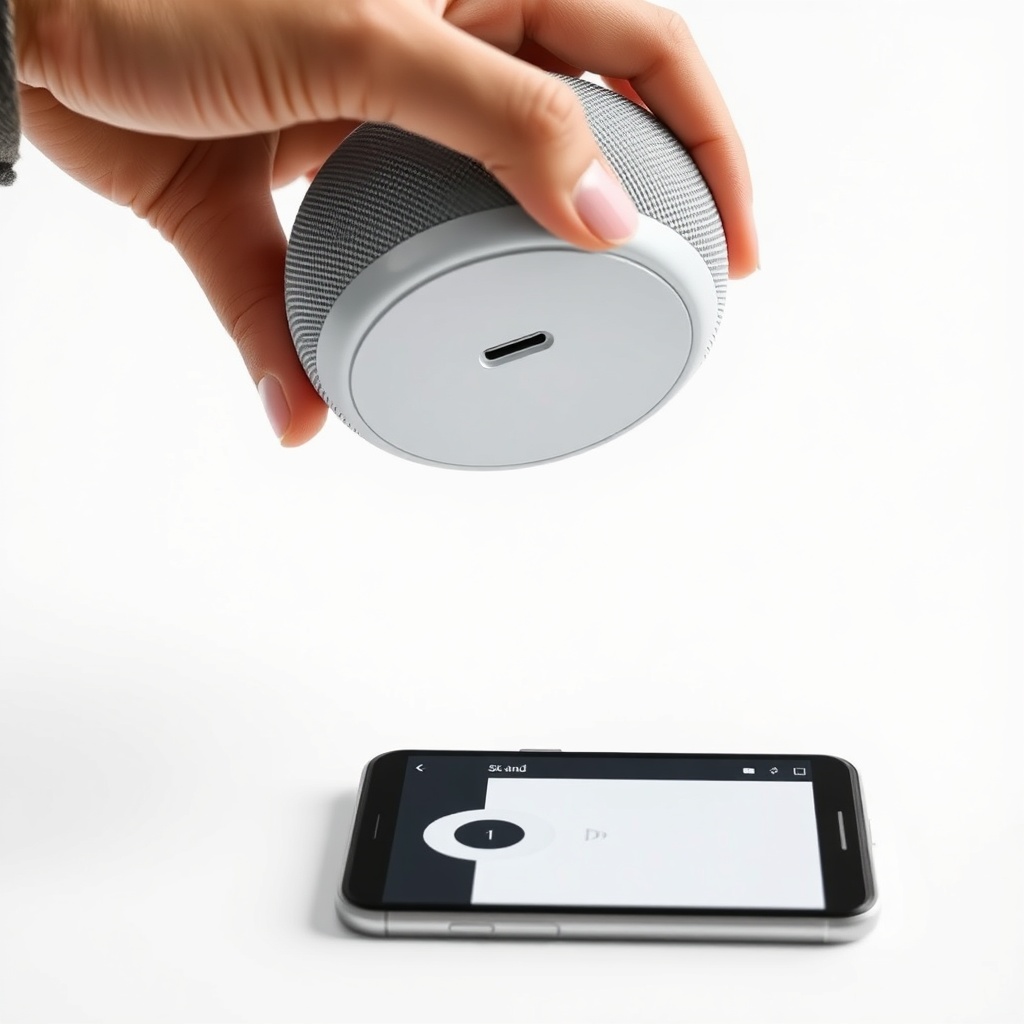
As a last resort, a factory reset clears all local data and forces the latest firmware on re-setup. While the microphone mute switch is toggled to the orange position (microphone off), press and hold the centre of the speaker for about 12 seconds until you hear “Resetting…” Follow the in-app prompts to set up the device again. The update should download automatically during the process.
Note that this erases any custom equaliser settings and linked accounts. It’s best to do this only after trying the previous steps. For sensors like temperature and humidity, a factory reset also triggers recalibration—see our Google Nest Audio Temperature and Humidity Sensor Not Working? Troubleshooting Guide for details.
What Owners Say
Real-world experiences highlight the importance of patience and the right hardware. One user on Reddit noted: “My update was stuck for three days until I switched to a wired Ethernet connection for my router. The wireless had a 5% packet loss.” Another owner found that using a 10W charger from an old phone prevented the update from completing, but switching back to the original 30W adapter fixed it instantly.
Common praise centres on the factory reset method: “I spent an hour troubleshooting, but a reset took five minutes and the update was done in ten. Seriously, don’t skip it.” However, several owners caution that a reset should be a last step because of the setup overhead. The consensus: check power and network first, then move to cache clearing, and only reset if all else fails.
For multi-room audio setups, a stuck update on one speaker can cause latency across the system. If you’re experiencing timing drift after an update, our Google Nest Audio Multi-Room Audio Latency: Causes and Solutions article offers targeted fixes.
Frequently Asked Questions
Q1: How long does a Google Nest Audio firmware update usually take?
A full firmware update typically takes 10–20 minutes on a stable 2.4 GHz connection. If it exceeds one hour, the update is likely stuck and requires intervention.
Q2: Can I use my Nest Audio while it’s updating?
No. The speaker disables audio streaming during the update to prevent system instability. You may hear a brief silence or “Installing” voice prompt.
Q3: Will a factory reset delete my music playlists?
No. Playlists and preferences are stored in your Google account, not on the device. A reset only removes local settings and calibration data.
Q4: Does the update affect audio sync when paired with a TV?
Firmware updates often include latency adjustments. If you notice sync issues post-update, refer to our Google Nest Audio Audio Sync Issues with TV: Causes and Solutions guide for recalibration steps.
Q5: Why is my Nest Audio stuck on “Checking for updates”?
This usually indicates a DNS or connectivity issue. Reboot your router and ensure the speaker isn’t behind a VPN. If the problem persists, manually install the update via the Google Home app after clearing its cache.
Q6: Can I force the update via the Google Home app?
Yes. In the app, tap your Nest Audio, go to Settings > Firmware, and select “Install update now.” If the option is greyed out, the device might already be up-to-date or offline.